Hello Friends, I hope you are doing well. Things have been a little chaotic over here… probably an understatement, haha! But we are doing well. Despite the beautiful cherry blossoms we saw last week, we are waiting for the slightly warmer weather to keep getting warmer. :)

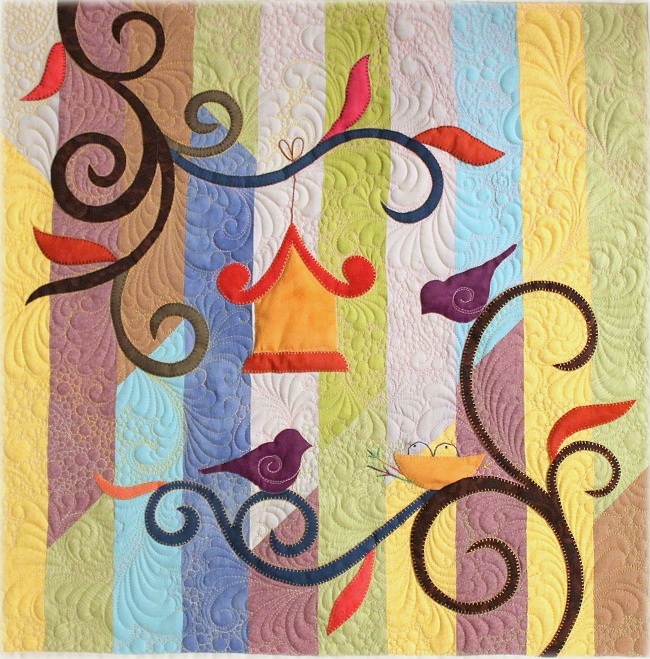
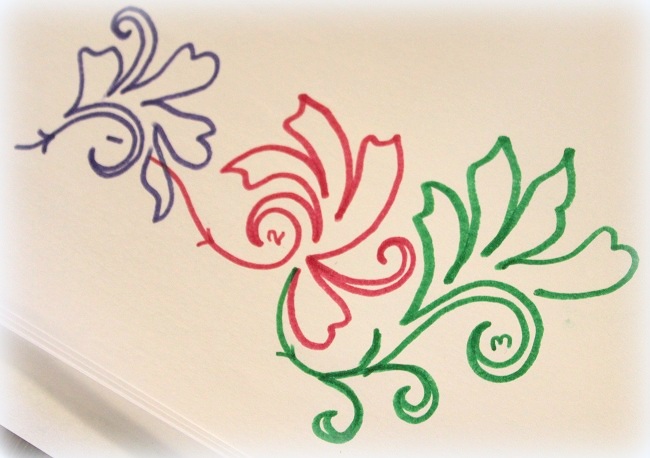
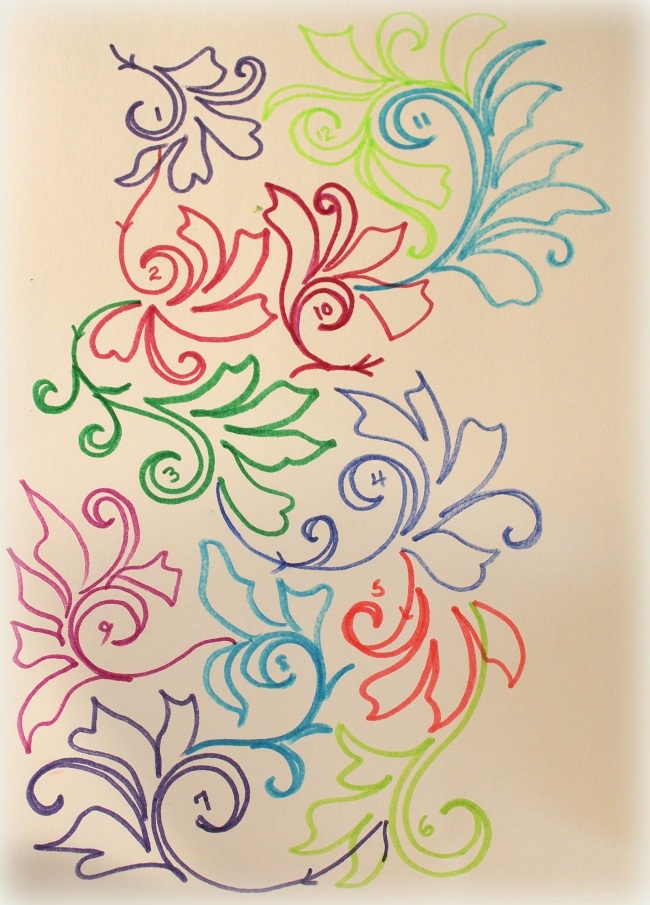
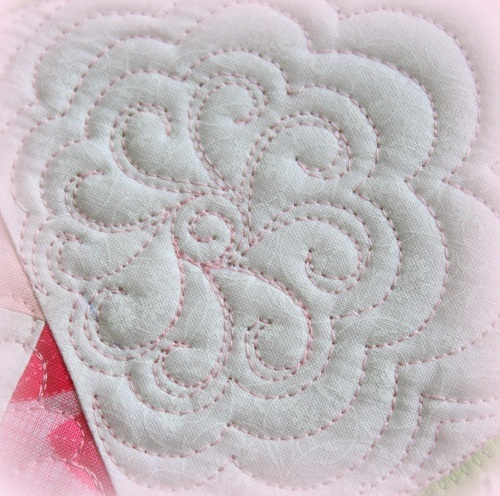
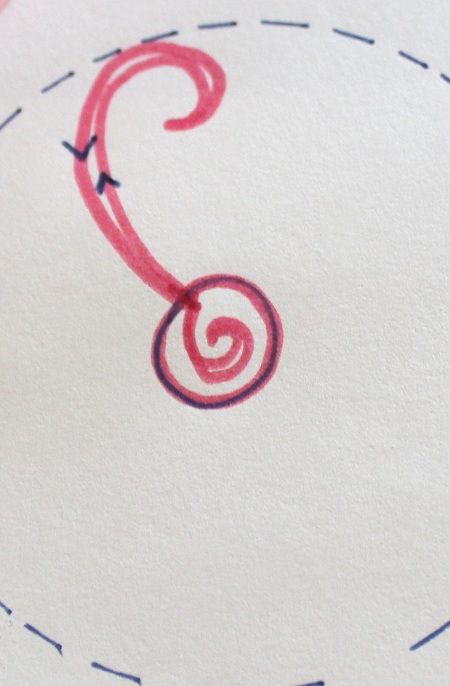
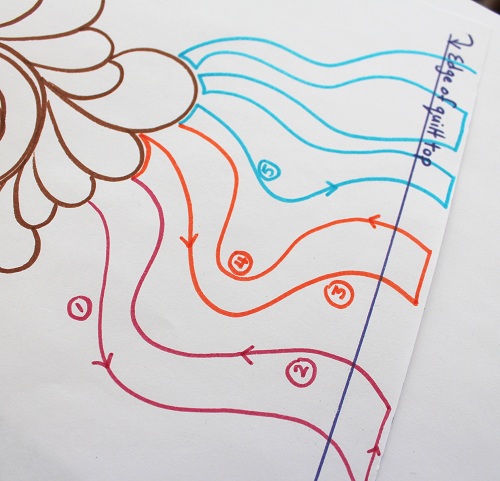
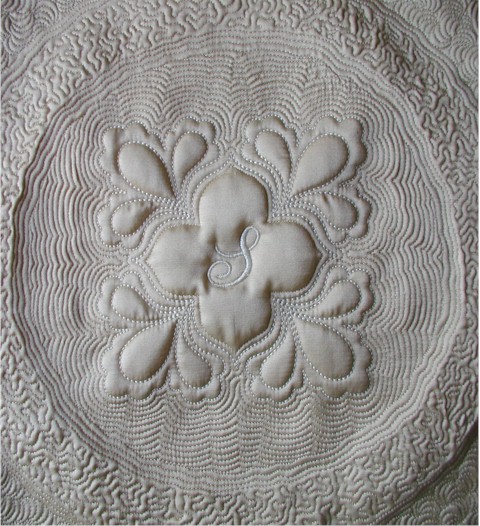
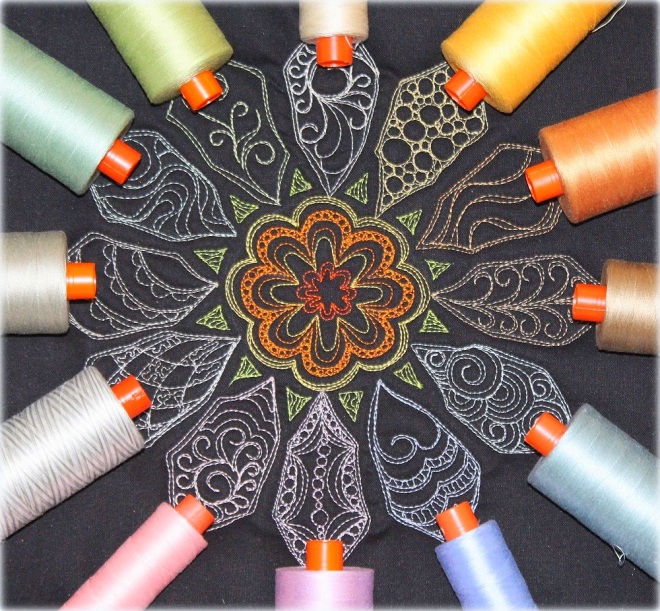
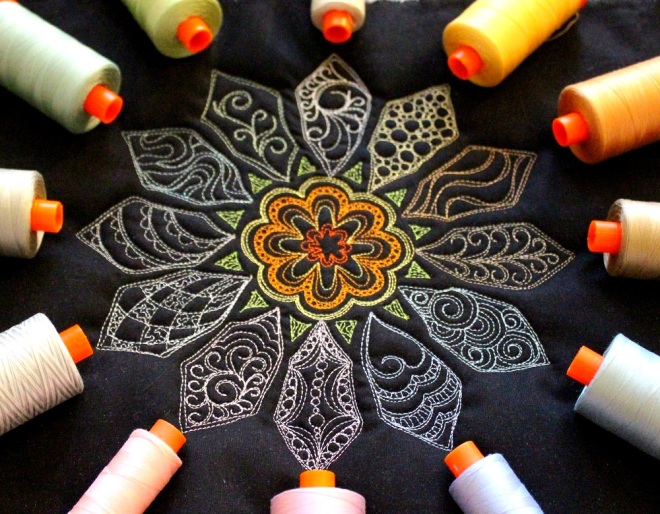
Last week, I stitched out a Mandala design using my Subtle Strings threads. This Mandala design was stitched out as part of QuiltShopGal’s Bee Creative Charity Project. Click here to read more. QuiltShopGal also showed my pencil sketch schematic of this stitched Mandala in her post. You are free to use it as an inspiration for your quilting.

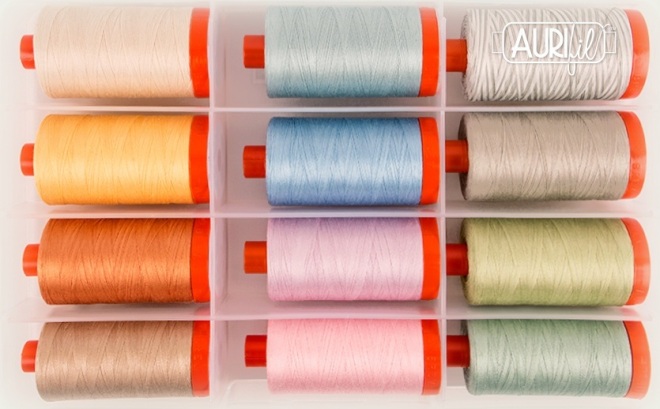
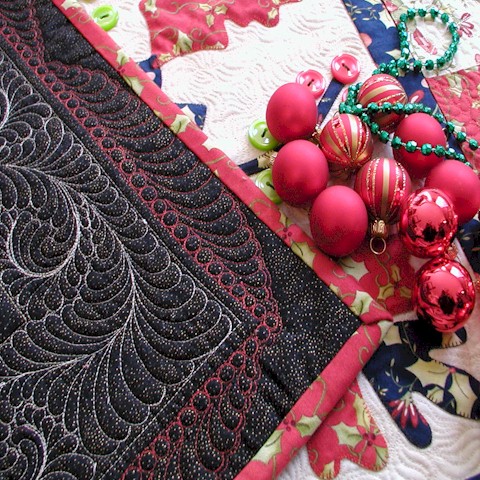
Sometimes, a little subtlety goes a long way, yes? To illustrate how subtle the colors of my Subtle Strings thread spools are, I contrast them against a solid black background. The flower center is stitched with Aurifil 40wt threads in the bright and loud shades in order to give contrast to the colors and the 50wt threads I had chosen for Subtle Strings. All 12 Subtle Strings colors are stitched in the 12 outer petals.

It’s interesting to me to see how the colors look SO different when wound on spools vs. when they are stitched out. In this case, when the thread is stitched out (without the effect of the collective rounds of wound thread), you might even say some of the threads are subtly similar in shades — thus the name, Subtle Strings. :) Take a look at the corresponding colors to the stitched petals, and you will quickly see the effect of “collective vs loner”. For example, that yellow thread doesn’t look so yellow after all.
My two cents:
#1. ALWAYS, always (!) audition the color of your threads but pulling a thread by itself and lay it against your fabrics to see if you like the thread color on your quilt, instead of laying the entire spool on the fabric for audition. Of course that is the lazy way. You can always actually stitch out the colors on actual fabrics if you are the very responsible kind, haha! As for me, I tread the quickest path that gets me to the actual quilting part.
***There are logical reasons to my Subtlety (see below):
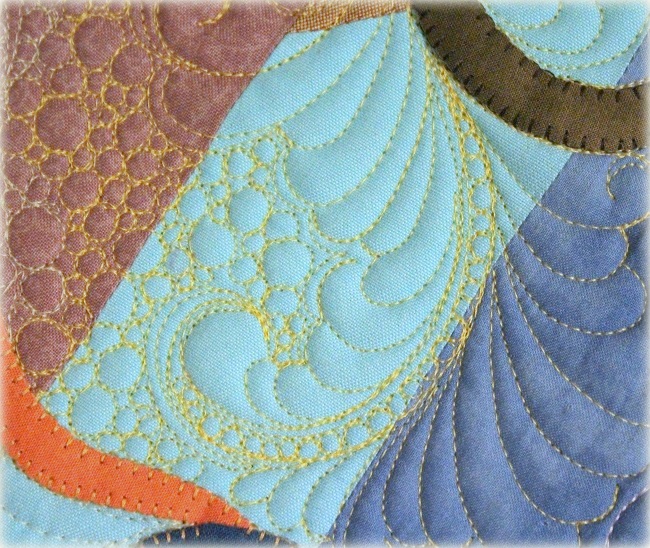
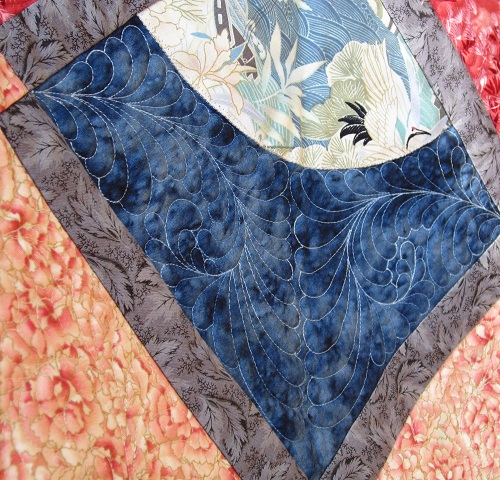
#2. Interchangeable shades — that means I have used the similar shades of colors TOGETHER in a quilt in the situation where I ran out of one color during the quilting process, and proceeded using the one with the similar shade. The effect is almost unnoticeable (unless inspected up close), especially with those two blue shades.
#3. The top center cream shade is my favorite neutral shade (#2130) that I use to piece AND quilt most of the time. BUT, I have also learned that the other shades (like the light pink, lavender, light blue, gray and taupe) are suitable for piecing as well – even for light fabrics. So, if you have threads in subtle colors laying around, use them like you would a neutral thread in your sewing!
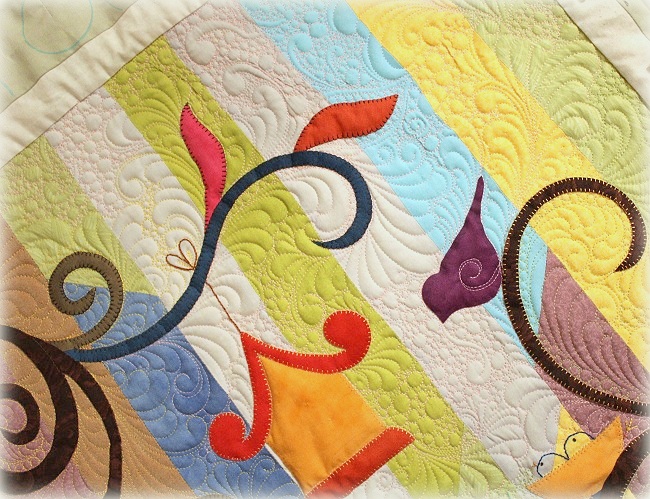
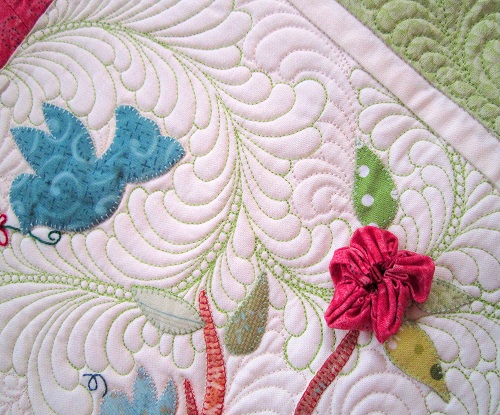
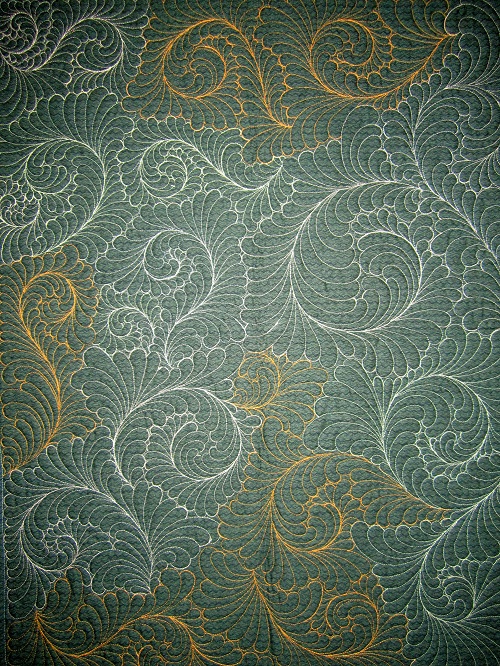
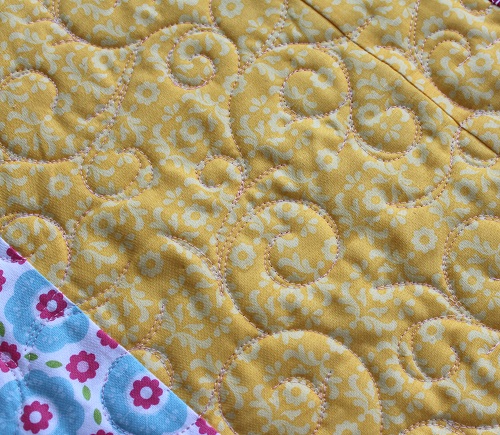
#4. The softer colors accentuates the texture of quilting if you want the effect of your quilting not overpowering.
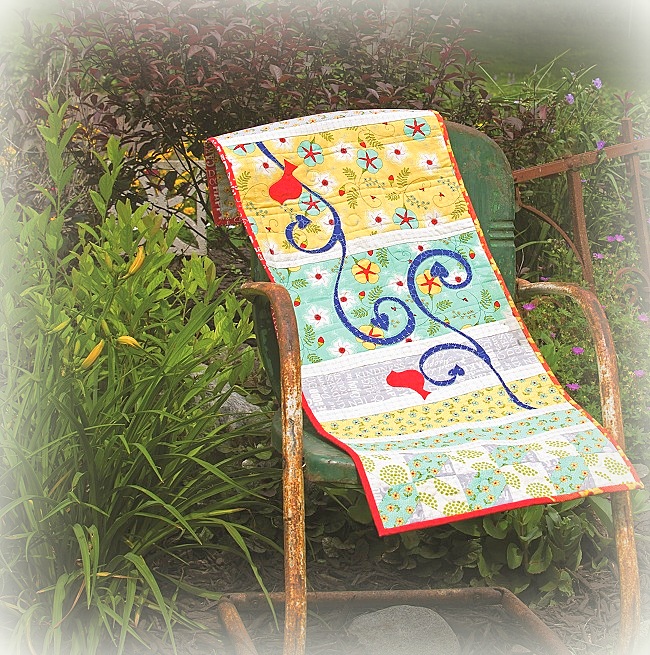
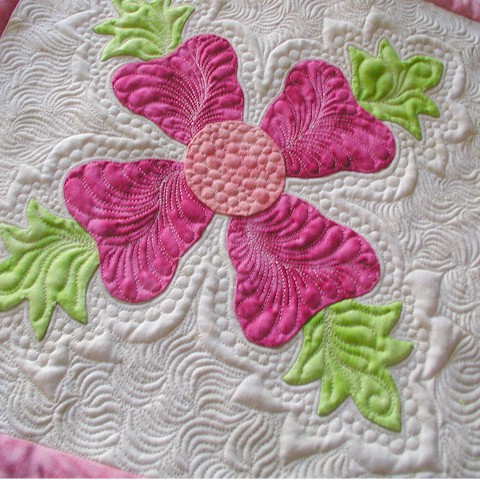
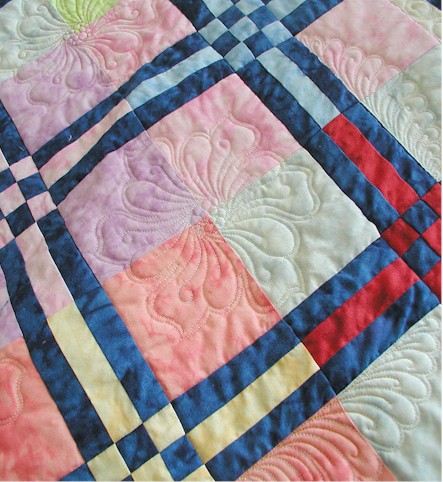
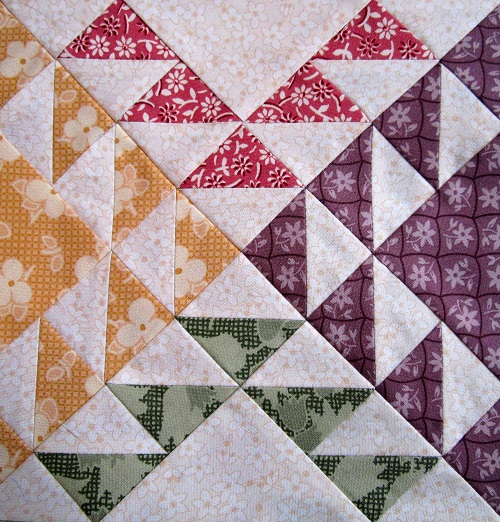
The following picture shows what I call “lemonade” quilting. The thread is the light pink quilted against a yellow fabric:
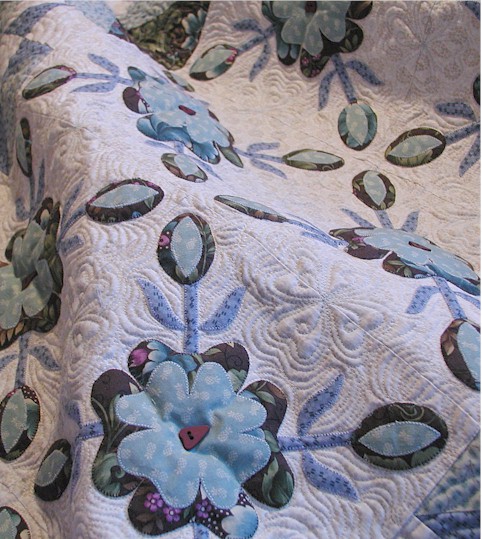
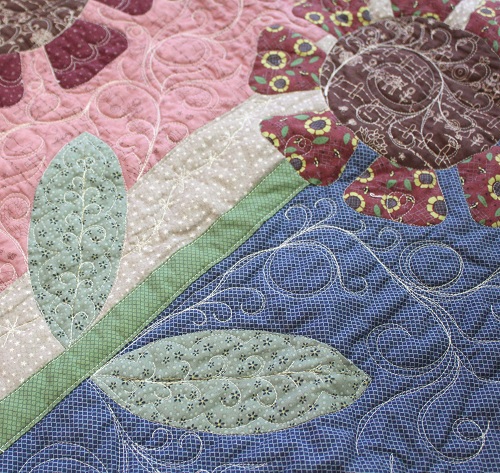
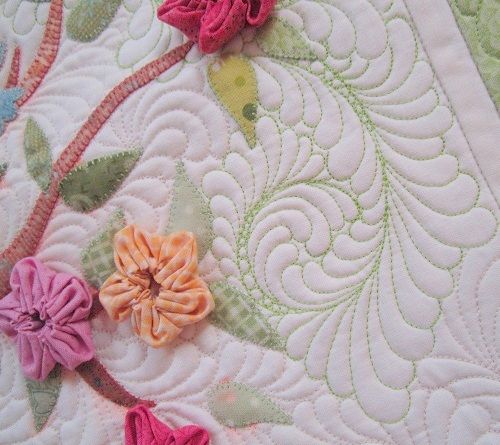
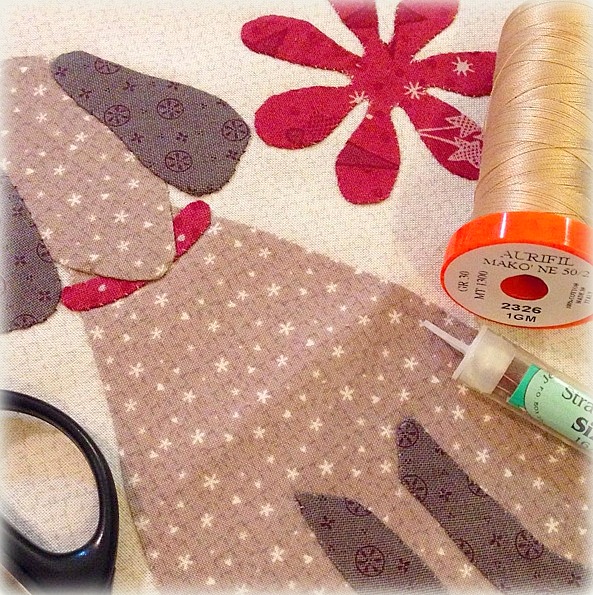
#5. I also picked those shades for hand applique purposes because those shades blend well in securing the applique pieces onto background fabrics. I read somewhere a long time ago to no pick loud shades for hand applique. And I have always used subtle shades for hand applique.
#6. And of course all the Subtle Strings threads are in 50wt. The reason being, for those starting out with domestic machine quilting, I always encourage them to use the finest thread they can find. I started out using 100wt silk (you can read more about it and see more pictures here). As I taught domestic machine quilting, I had found that the 50wt really gives the students the best results that eventually confidence in them to continue in domestic machine quilting. [From my personal teaching experience, it has to be the Aurifil 50wt that gives the best result! I would hand out 50 wt threads to student who are struggling in class to have them just try the thread – they are always amazed at the difference the thread makes!] So, the 50wt is definitely a great weight to start!
#7. When used for quilting, I find that the 50wt masks mistakes really well, and oftentimes that is what give beginners the initial confidence to keep on quilting on their domestic machines.
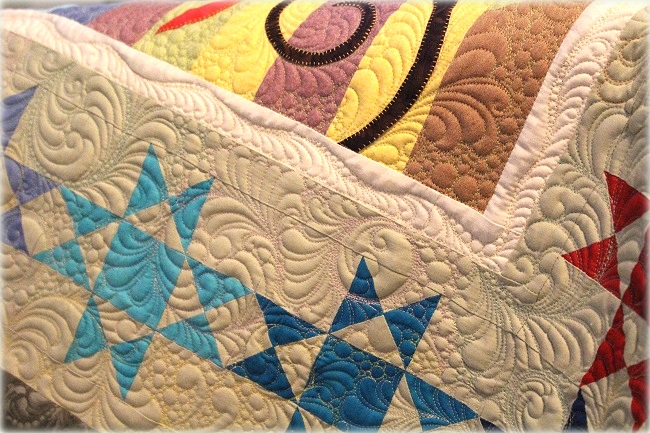
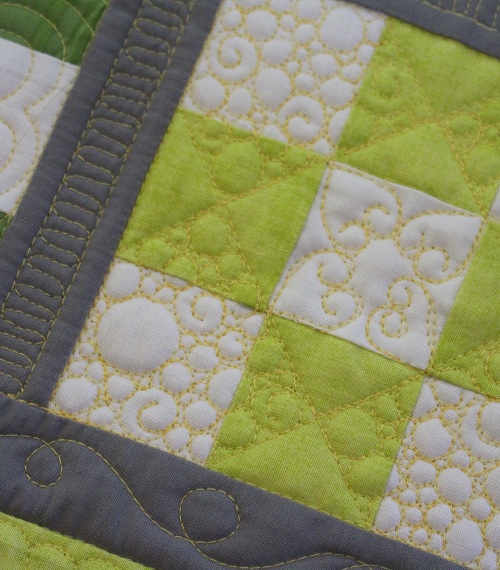
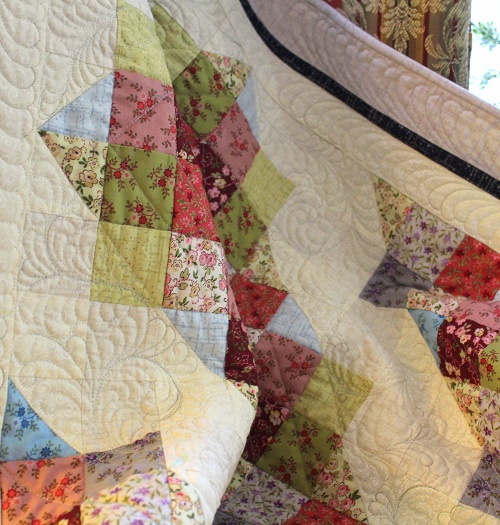
#8. The 50wt is my favorite weight for piecing. I think that the 50wt helps with achieving precision in piecing. I found that subtle shades of pink, green, blue or yellow work just as well color-wise as the neutrals in piecing!
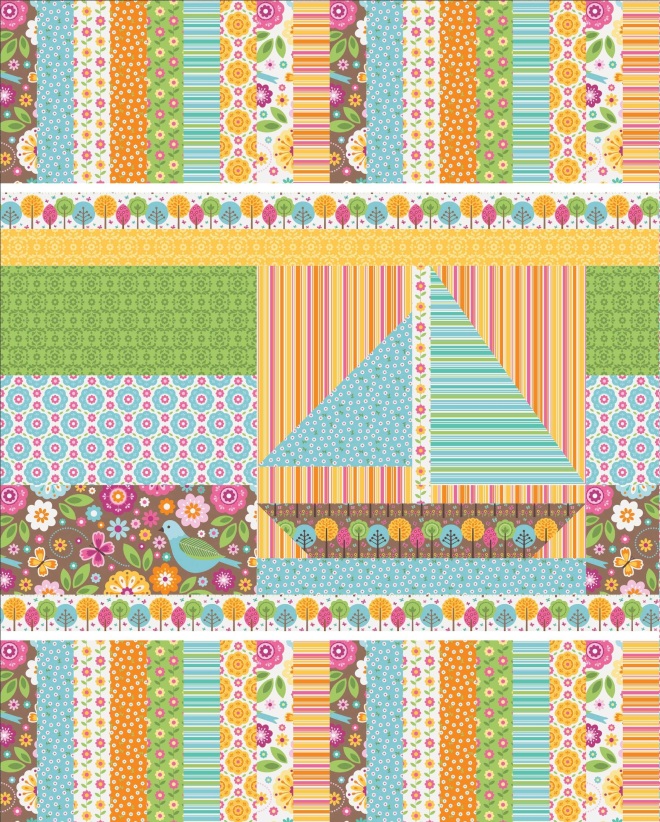
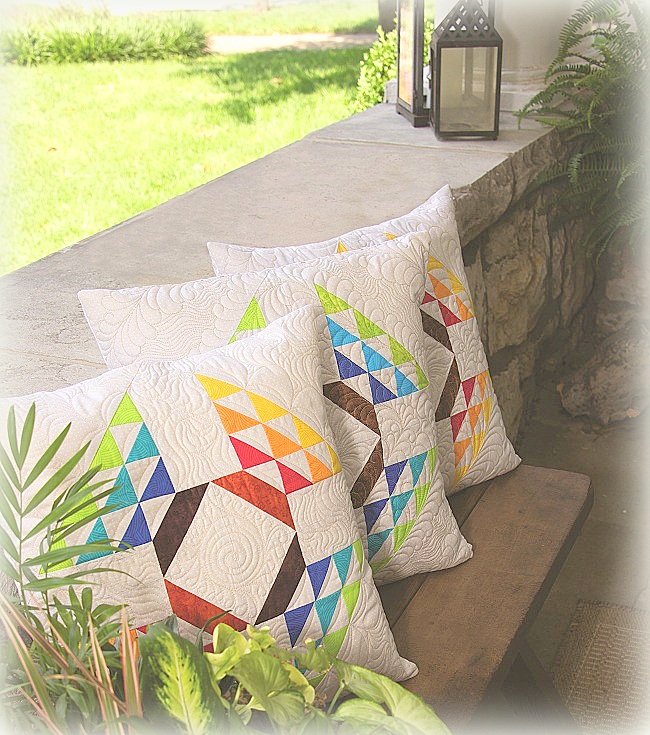
My Color Burst quilt comes to mind – that quilt was completed from start to finish (finish means bound and set to the magazine editor) in 5 days. I have to say it wouldn’t have been possible for me to do had it not been the Aurifil 50wt threads that helped me so much in achieving the precision in piecing. Keep in mind these HST finish at 1 1/2″ square.
I think I finally ran out of my 2-cents on being subtle here. :) I hope you will look and see what threads you might have to stitch them out, just to see how they would look on fabrics like I did with my Subtle Strings colors on a black. I will have more projects like that to show and share with you this year — and hope that you will make experimenting a point in your quilting journey this year!
You may contact Donna at www.followthatthread.com to order your own Subtle Strings collection. A big shout out to Quilters Newsletter for including the collection in the Staff Picks section of their latest issue (April/May 2016). Have you see my Tartan Links quilt in that same issue?

Alrightie — Friends, I am going to have a date with my Aurifil 50wt threads as I have to get a quilt top pieced and shipped out tomorrow. I hope you have a most lovely weekend! Quilty hugs to you – whether you are a quilter or not.